Motorcycle fork oil is there primarily to provide damping. Other functions include lubricating the sliding surfaces inside the fork, such as the bushes (the contact points between the inner and outer fork tubes) and the damper unit components.
The manufacturer will specify an oil viscosity to suit the model’s characteristics and usually there’s no need to stray from the standard recommendation. That said, there are different viscosity fork oils and for off-road and sports bikes, the options are greater when also considering different oil blends and fully synthetic suspension fluids.
Enjoy everything More Bikes by reading monthly newspaper, Read FREE Online.
Not all manufacturers include a fork oil changes in service schedules, the implication perhaps being that the oil might last the life of the motorcycle. Granted that fork oil doesn’t have to withstand the harsh environment of engine oil where extremes of temperature, heavy loading and contamination from the combustion process lead to its degeneration, but the fork oil has to continue to provide good damping and anti-foaming qualities at all times. Gradual loss of damping performance is likely to go unnoticed and the benefit of changing the oil may not be apparent until it’s done.
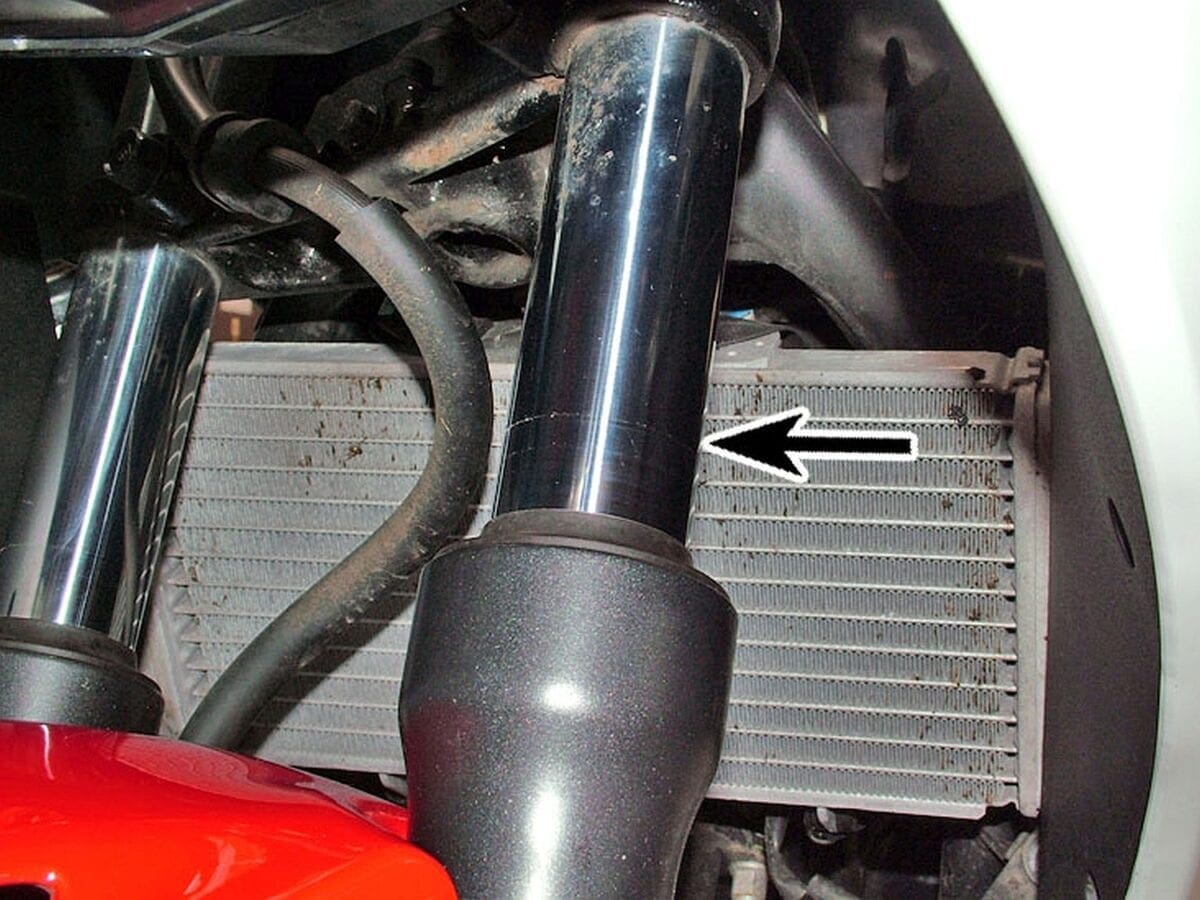
Fork oil loss can occur through failed fork seals and it’s important to check the working area of the fork tubes periodically for signs of this (pic 1). To see more clearly, prise up the dust seal at the top of fork outer tube.
Forks are no longer fitted with drain plugs, so each fork leg must be removed and the oil literally tipped out of its top. This does mean unbolting the brake caliper and removing the front wheel and mudguard, but the procedure can easily be done in an afternoon.
Always change the oil in both forks, not just one; otherwise the damping will be uneven. The fork oil type and quantity must be the same in each side.
CBR125R & CBR250R current procedures
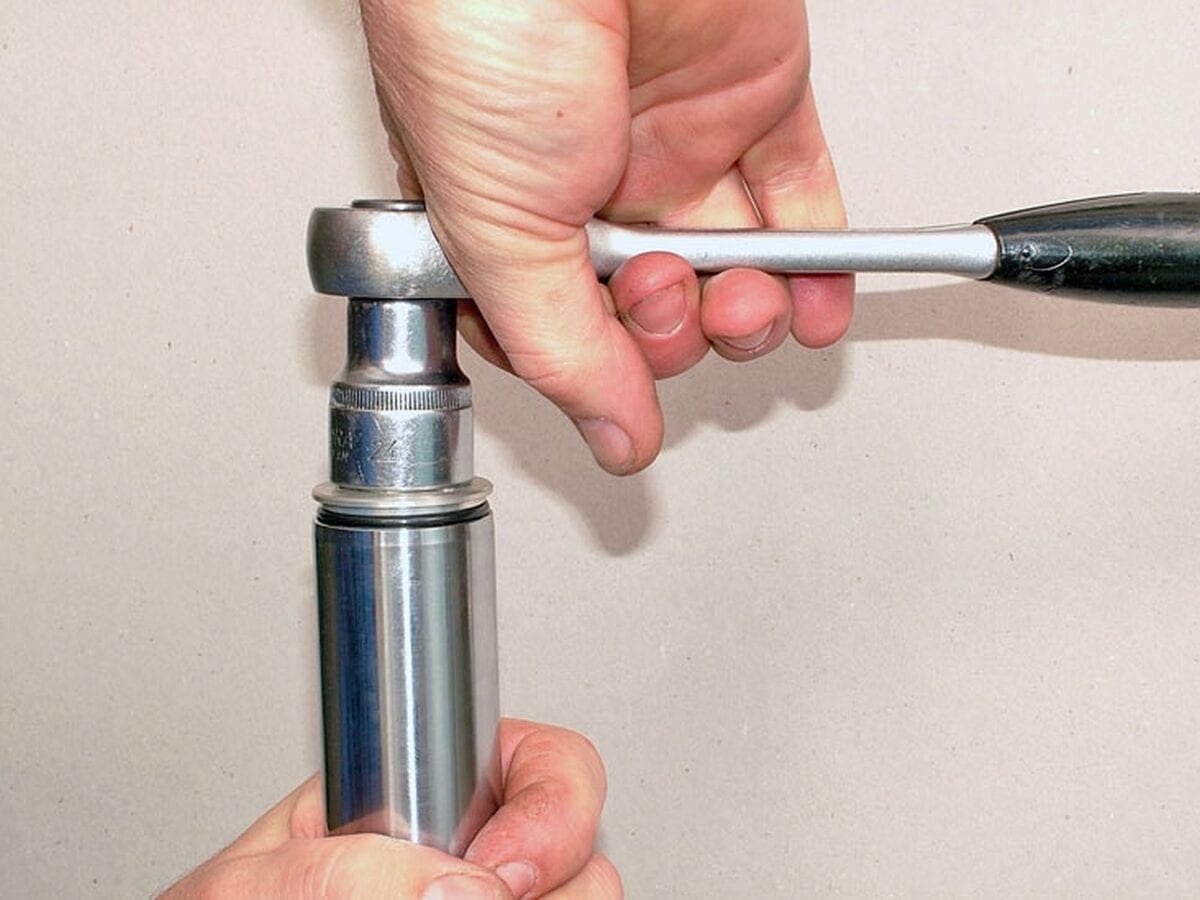
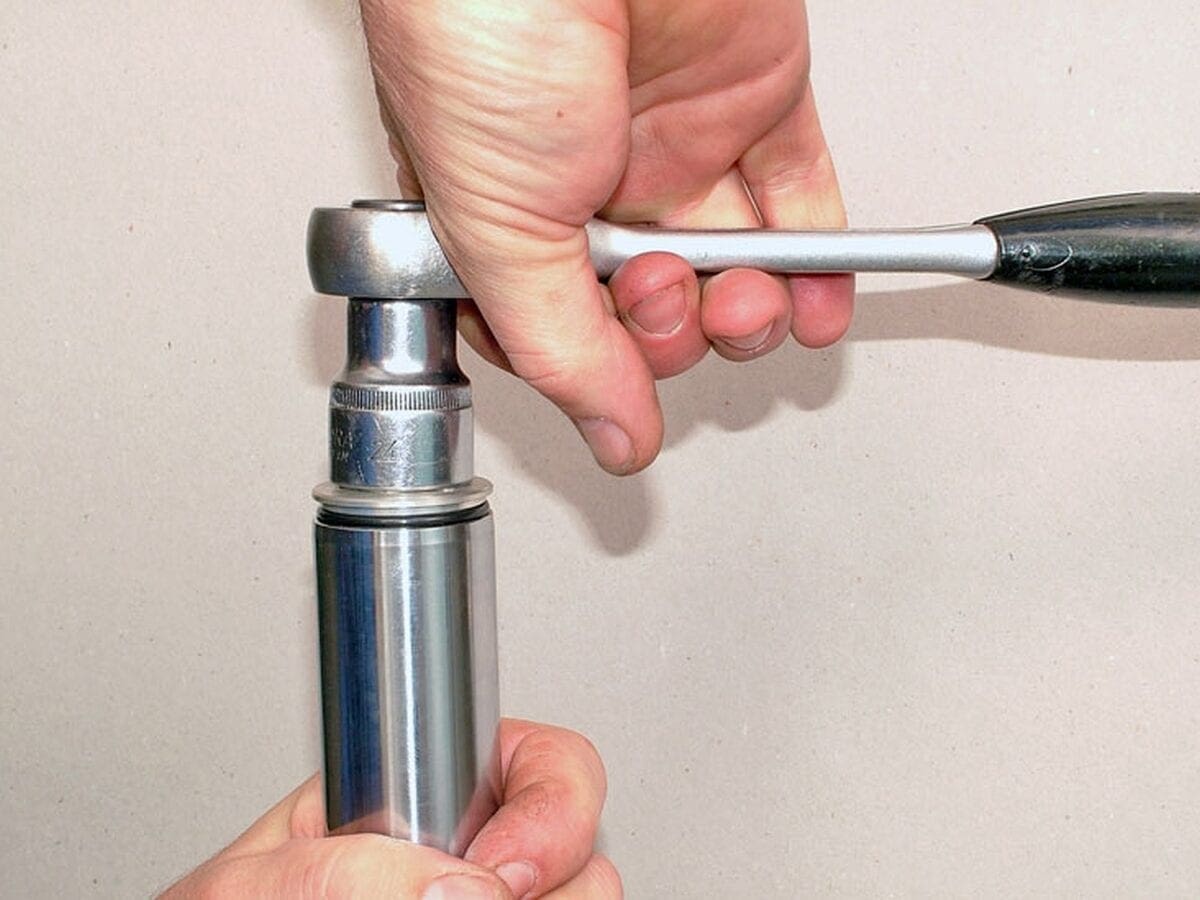
Remove the forks from the bike and work on one at a time. Unscrew the fork top bolt from the top of the inner tube – the bolt is under pressure from the fork spring, so maintain some downward pressure on it, particularly as you come to the end of the threads; alternatively, hold the tool still and twist the fork tube to unthread it from the bolt (pic 2).
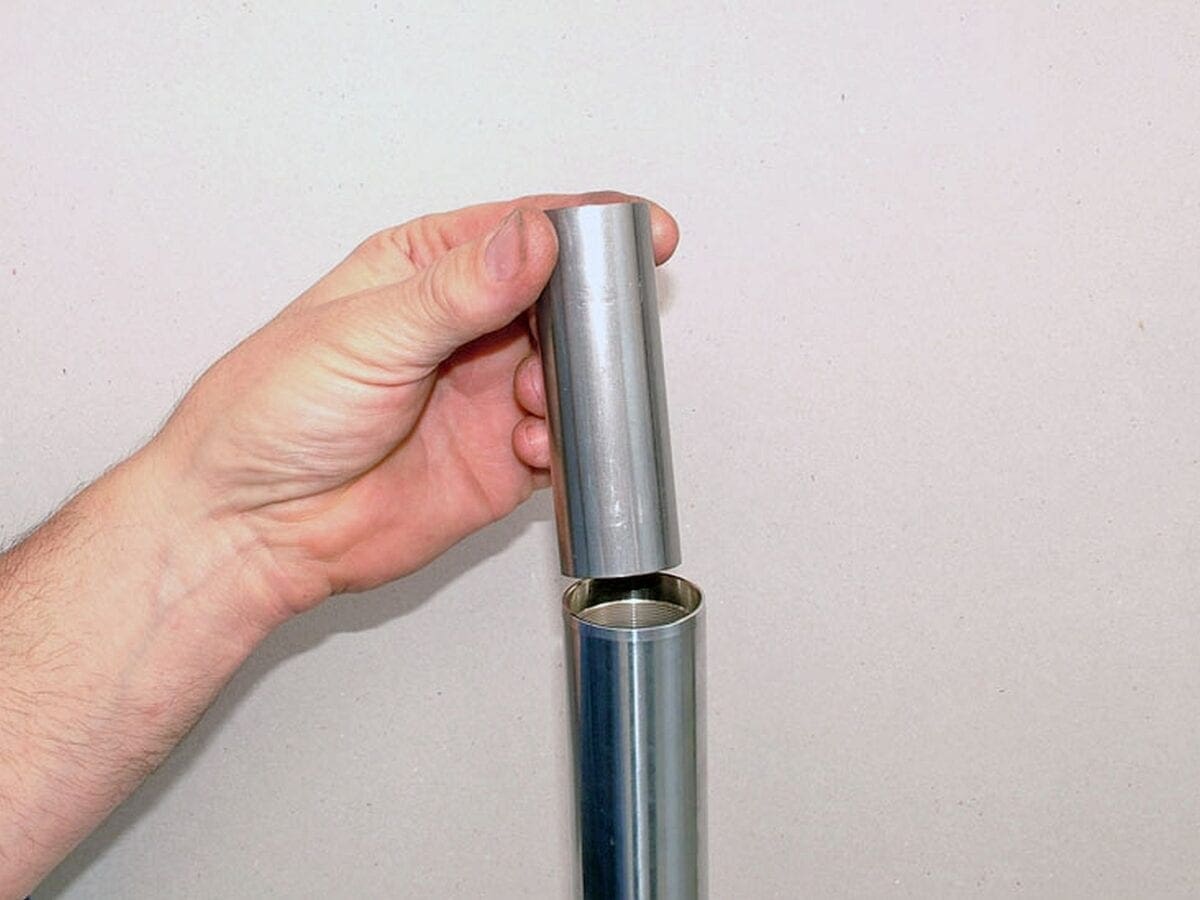
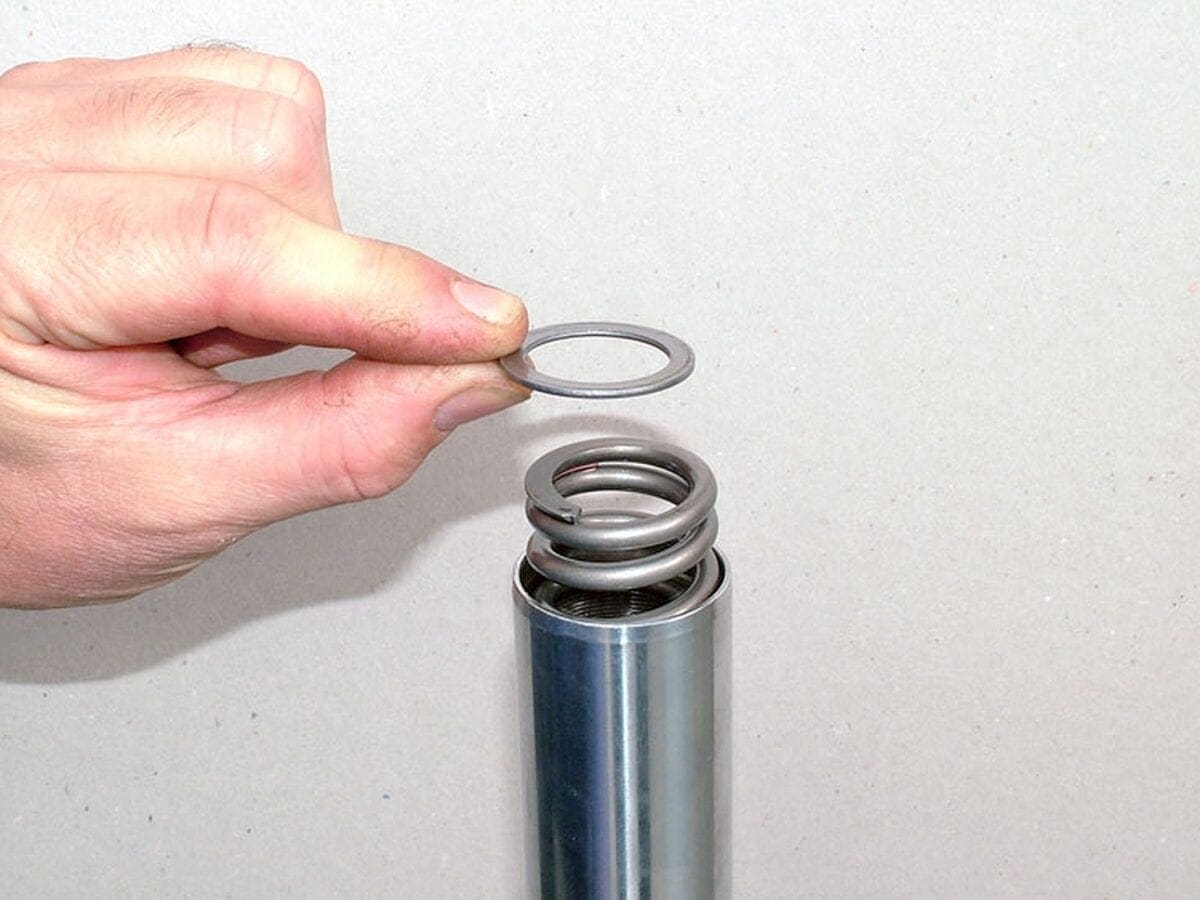
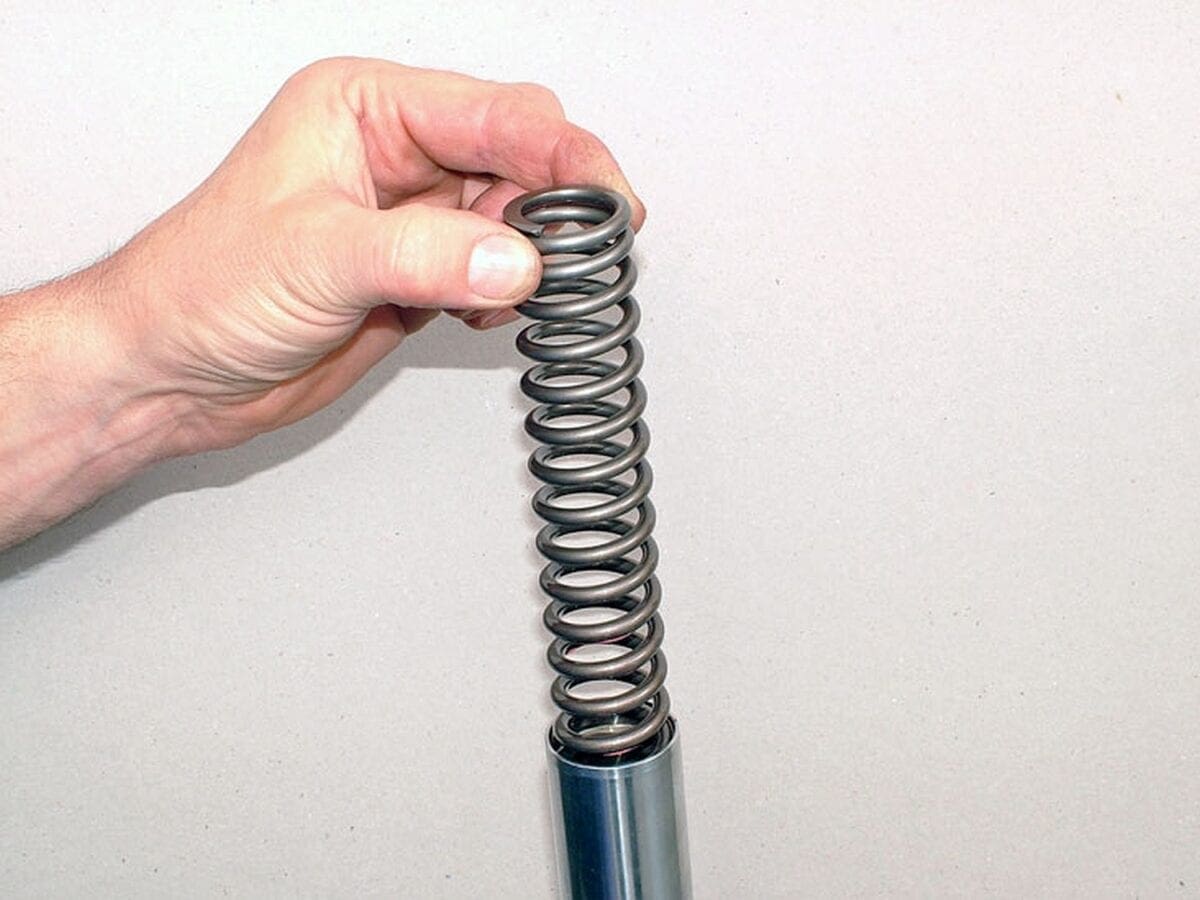
Slide the inner tube down and remove the spacer, spacer seat and spring (pics 3, 4 and 5).
Hold the fork upside down over a suitable container and pump it several times to expel as much oil as possible (pic 6).
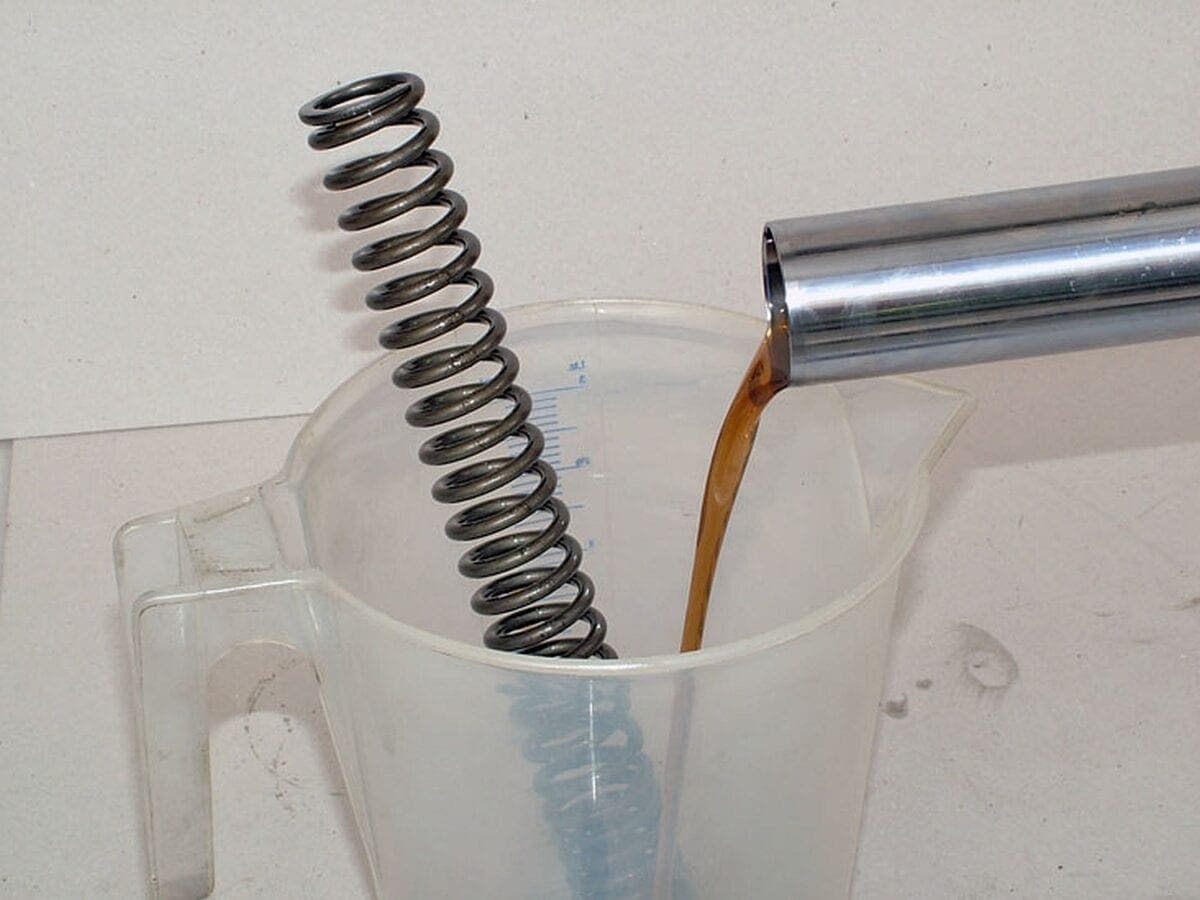
Support the fork upside down in the container for a while to allow it to drain; then pump the fork again. Wipe any excess oil off the spring and spacer.
Stand the fork upright. Measure out the exact quantity of new fork oil and pour it into the top of the fork (pic 7).
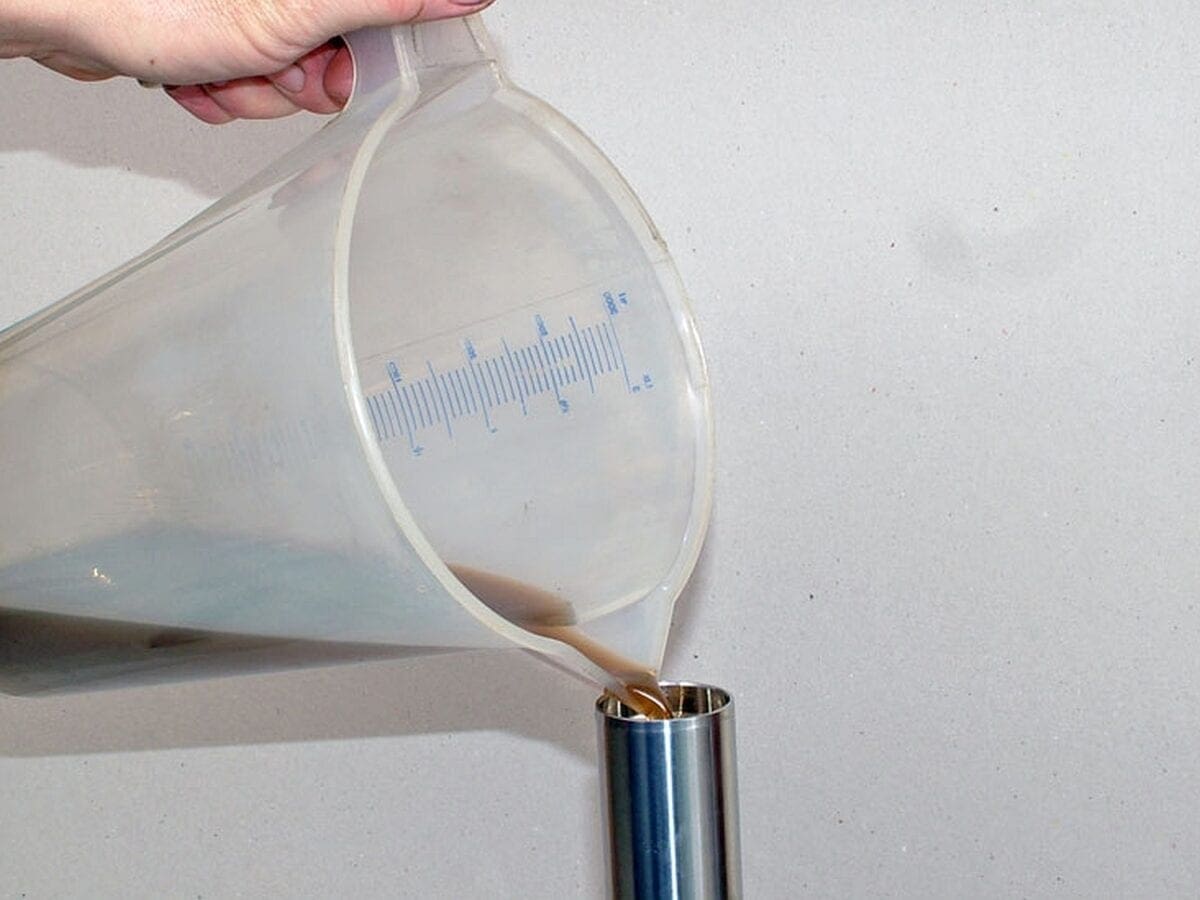
Now pump the fork slowly at least ten times to distribute the oil evenly and expel all air. Slide the inner tube down gently until it seats in the bottom of the outer tube. Measure the oil level from the top of the tube – a steel rule is an ideal tool for doing this (pic 8).
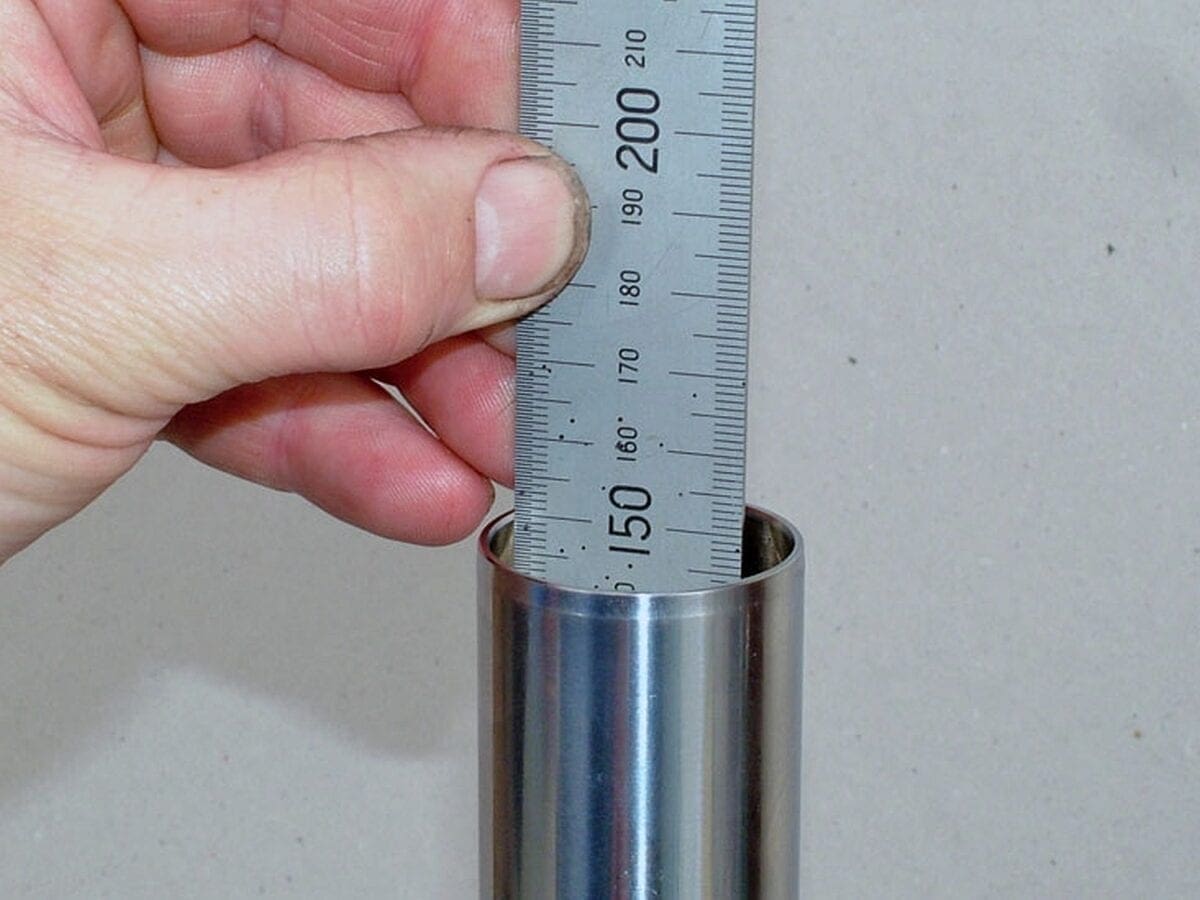
Add or subtract oil until it is at the correct level.
Pull the inner tube out, and then fit the spring (usually with the closer-wound coils downwards), the spacer seat and spacer (pics 5, 4 and 3).
Check the O-ring fitted to the top bolt and fit a new one if it’s broken or damaged (Pic 9).
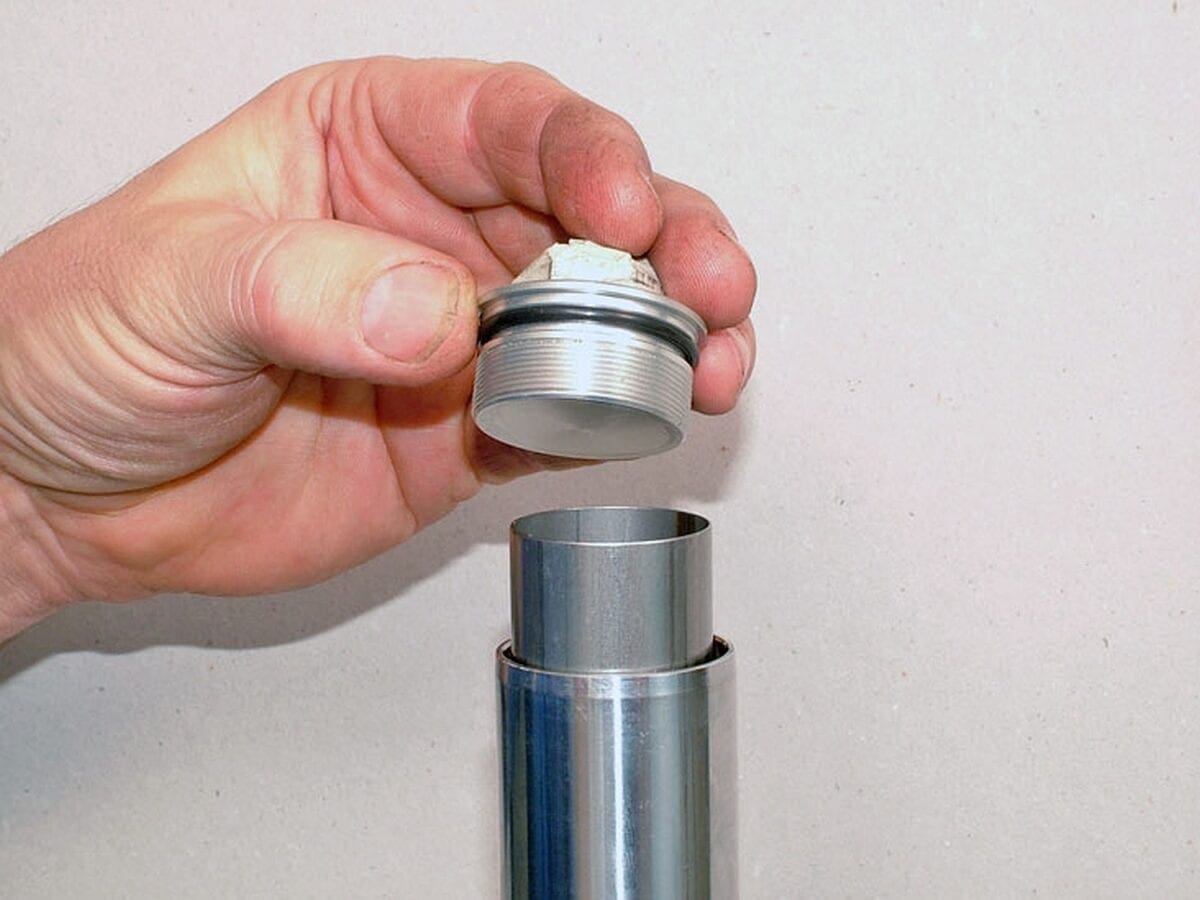
Smear some fork oil onto the O-ring. Extend the inner tube and fit the top bolt into it, compressing the spring as you thread it in. Maintain a downward pressure on the spring and make sure it does not cross-thread. Tighten the top bolt as much as possible by hand.
Fit the forks back into the bike’s yokes, making sure you identify which is the right and which is the left. It’s easy on the CBR because the right fork has the brake caliper mounting, but there’s also other features which set them apart (such as the wheel axle fitting, mudguard mountings and speed sensor location lug, etc). With the forks held securely in the yokes, both fork top bolts can be fully tightened.
When the wheel is back in the bike, bounce the forks several times to settle everything back in place and operate the brake lever to bring the pads back into contact with the disc.
The oil
Honda specifies 10W fork oil.
The amount in each fork (often expressed as ‘per leg’) is 221 ml for the CBR125R and 331ml for the CBR250R.
When measuring the oil level it should be 121 mm from the top of the tube on the CBR125R and 150mm on a CBR250R.
A small amount of leeway in the quantity, and therefore level, is acceptable, but the main consideration is that the oil quantity and level are the same in each fork.
Advert
Enjoy everything More Bikes by reading the MoreBikes monthly newspaper. Click here to subscribe, or Read FREE Online.


